

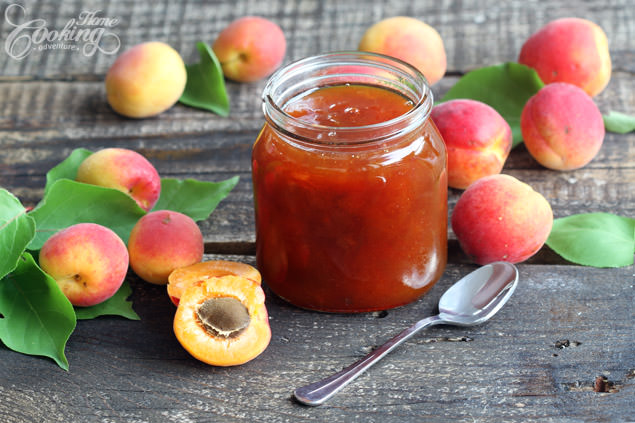
Making Apricot Jam is probably the best way to preserve apricots. There might be a little work, but you got yourself delicious homemade jam. There are so many ways you can use it: for spreading on cookies, bread, as a top for cheesecakes, or panna cotta. You can also use it to flavor homemade ice creams or other desserts.
Apricots are one of the best fruits for jams as their flavor is enhanced when cooked. It’s a pity to let them pass without trying to save some for the colder days.
Some combine apricots with other fruits but I consider this jam is perfect if only apricots are used as they are so flavorful anyway. Not too sweet, a bit tart, a great taste. It is the perfect jam indeed.
How to make apricot jam
Creating homemade jam is easy with these simple steps!
How to prepare the jars.
The first thing to do is make sure your jars and lids are super clean. Wash them well and let them dry completely. If you don’t have a super-hot dishwasher, you can wash the jars and dry them in the oven at a low temperature (275°F or 130°C). This not only dries them out but keeps them warm while you make the jam. For the lids, just dip them in hot water that’s not quite boiling for around 5 minutes. Just in case, prepare extra jars in case you end up with more jam than you thought. Keeping the jars warm helps them stay safe when you pour in the hot jam.
Prepare the jam
Now, get those fresh apricots ready. Cut them in half and take out the pits. Put them in a big, sturdy pot along with some water and lemon juice. Cover it up and let it cook, giving it a stir every now and then. After around 50 to 60 minutes, the apricots should be soft and well-cooked.
While it’s still cooking, pop a small plate in the freezer. When you’re ready, add sugar to the apricots and keep cooking without a lid. Stir a lot! If any foam appears, take it out.
When you think the jam is thick enough, drop a bit of it onto that cold plate from the freezer. Let it cool and then nudge it a bit. If it crinkles and holds its shape, you’re good to go. If not, keep cooking and testing until it’s just right.
Preheat your oven to 300°F (150°C). Gently pour your hot jam into those prepared jars, leaving some space at the top. Put the jars in a baking tray, add some warm water to the tray, and slide it all into the oven. Let it stay warm in there for about 1 hour.
Carefully take the jars out and place them on a covered counter. Pop on the lids, cover them with a cloth, and let them cool down. And there you have it – homemade jam ready to enjoy!
Let me know if you try this Apricot Jam and hope you enjoy it as much as we did! If you do, share the photos with me on Instagram. Would love to see how it turned out for you.
Did you make this recipe?
Please let me know how it turned out for you! Leave a comment below and tag @homecookingadventure on Instagram and hashtag it #homecookingadventure.


we adore apricots in all forms…they are so sunny…this jam looks divine in those mason jars…just waiting to be spread on some nut loaf yummm:-)
WHOA!!!! So many jars of delicious apricot jam!!! I want to learn how to make own jam from fresh fruits one day. I am being too lazy. Must be so delicious. Your beautiful and delicious photos tempted me. 🙂
What’s the expiration date for the jam?
Hi Milena.
If the jar is properly sealed the jam can last for a very long time.